How many of us can honestly say we clean our hairbrushes on a regular basis? As much as we love our locks and tend to them with professional dye appointments, regular trims and restoring treatments, we tend to overlook the tools that style our hair every day.
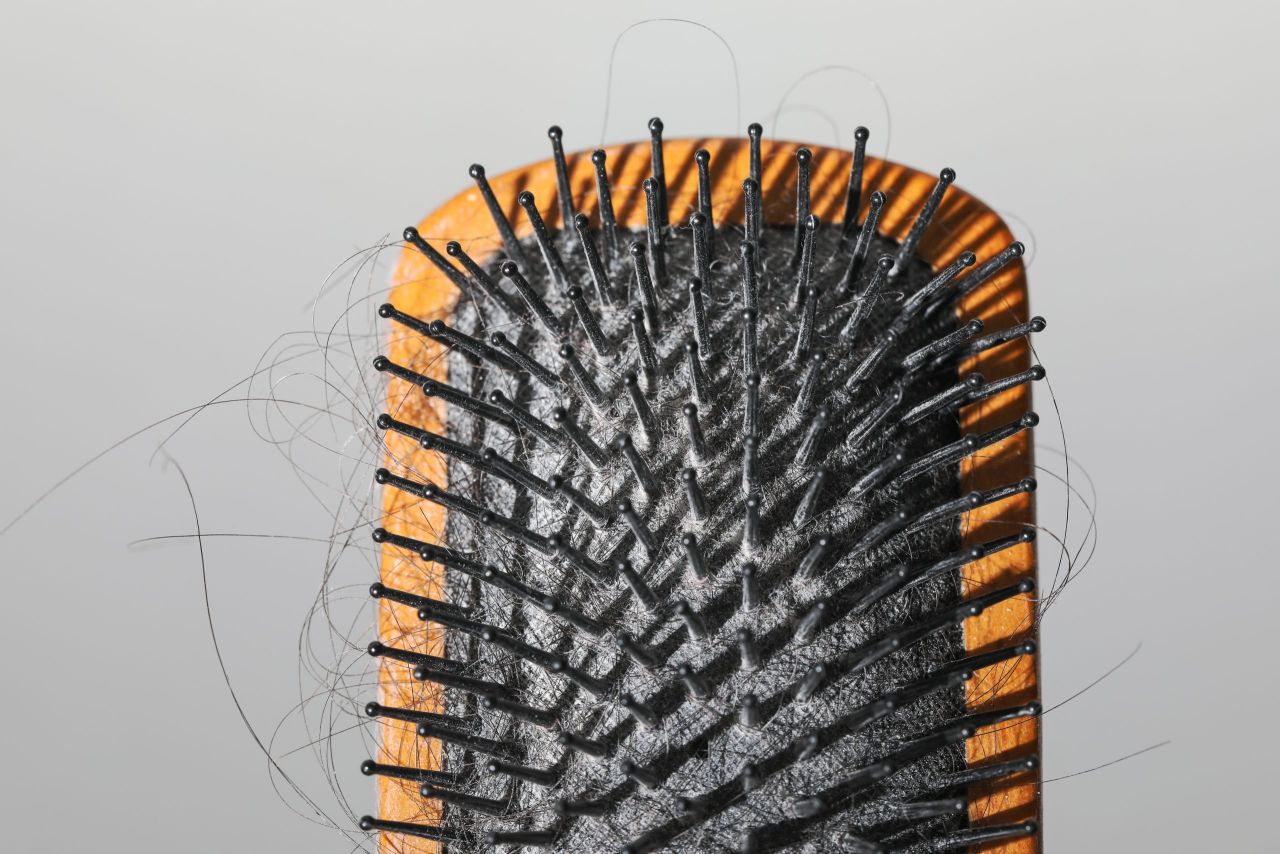
Over time, brushes tend to see a buildup of dead skin, dirt, loose hair and product residue which, when you think about it, is pretty unhygienic if you use these tools regularly. So, if you can’t remember the last time you washed your hairbrushes, it’s time to give them the once over. We asked celebrity hairdresser Michael Douglas for his advice on keeping brushes spick and span, and we’ve also shared some of Mrs Hinch’s cleaning tips for your hairbrushes as well .
There are a few methods to choose from when cleaning your brushes, pick the right one for you and your brush.
How to clean hairbrushes with the deep clean method
1: Remove excess hair
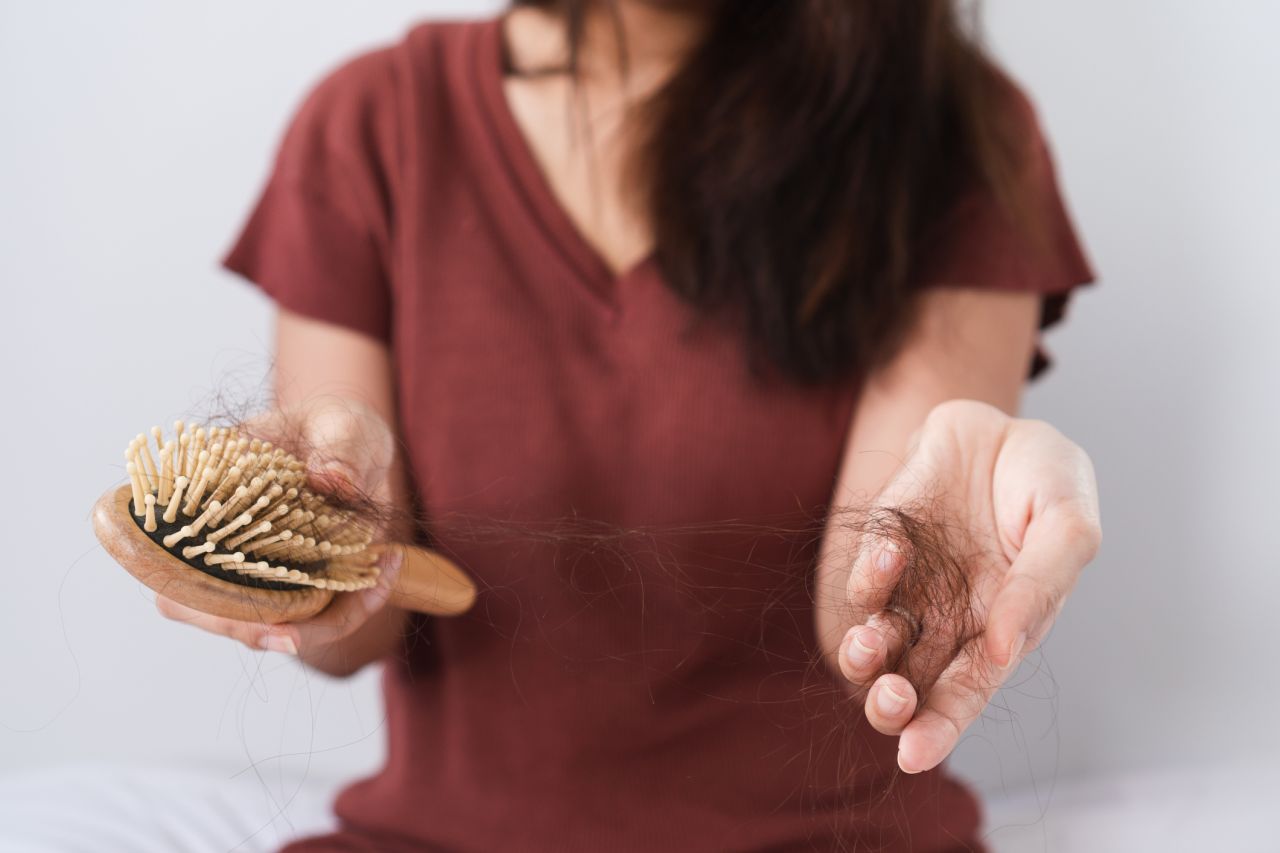
Firstly, remove all the dead hair that has accumulated on the bristles. You can use a very wide-toothed comb to help you ‘comb through’ the bristles of the brush, loosening the hair for you to pull off. If the built-up hair is too matted for you to get through, use a small pair of scissors to cut through the hair, carefully avoiding the bristles.
2: Pop in the dishwasher or fill a bowl with warm water
Now you’re ready to clean the brush. If it’s a plastic brush it can go directly into your dishwasher, on the top rack. The heat will kill bacteria and get rid of any residue. The same goes for plastic combs. Non-plastic brushes and combs shouldn’t go in the dishwasher as they’re too delicate. If you’re unsure whether your brush can go in the dishwasher or find it too gross to comprehend, opt for the manual method.
Fill a sink or bowl with hot water and add some shampoo or washing up liquid along with a splash of white vinegar. Leave brushes to soak for an hour, then scrub at the bristles with an old (but clean) toothbrush to get rid of any buildup. Make sure you’re not submerging wooden, cushioned or natural bristle brushes as water will damage them, reducing their lifespan. Instead, try the baking soda method below.
3: Rinse and dry
Rinse off the brush with clean water and leave it to dry overnight, bristle side down so the excess water can drain.
Mrs Hinch recommends this same method of soaking hairbrushes and combs in warm water, for one hour. She suggests adding one tablespoon of washing up liquid – and also adding one tablespoon of vinegar to kill bacteria and germs.

How to clean hairbrushes with the timesaver method
The simplest way to clean brushes, says Michael Douglas, is to hop in the shower and bring your brush with you. “Take [brushes] into the shower and use the shampoo you usually use on your hair. If the brush has a lot of build-up on it then go for a clarifying shampoo such as OGX pH Balanced Clarify & Shine + Apple Cider Vinegar Shampoo, £7.99, Boots.”
After you’ve lathered up the brush, rinse it with clean water, pat it dry with a towel and leave it to dry overnight with the bristles facing down. Your hair will thank you for it the next day.
Hairbrush cleaning hacks
Other hairbrush cleaning methods include using items you’ll find from around the house – vinegar, baking soda, and dryer sheets (yep, you read that correctly!)
Baking soda – one teaspoon of baking soda dissolved in a cup of water is a great alternative to submerging your brushes. Use a toothbrush dipped in the solution and brush the bristles to remove grime. Rinse with some fresh water and leave to dry overnight.
Vinegar – combine equal parts vinegar and warm water in a bowl (or the sink) and let brushes soak for 5-10 minutes. Squeeze the bristles between fingers or scrub with a toothbrush and rinse with fresh water. Leave it to dry overnight.
Dryer sheets – an odd but effective way of cleaning brushes. Put two sheets in a bowl of warm water and leave brushes to soak for a few hours. Swish them around in the water to get rid of dirt then rinse with fresh water before leaving to dry.
How often should you clean your hairbrush and when should you replace them?
“If there’s a build-up of product on the brush then it can restrict its effectiveness,” explains Michael. “Give it a wash about every 2 weeks and use a comb or brush to get rid of the dead hair that’s wrapped around it.” You should replace your hairbrush when you start to see significant wear and tear.
“Once the bristles have started to melt and over 50 per cent of them are misshapen” is when you’re due a new rush, according to Michael. Obviously, the length of time this takes depends on the quality of the brush, whether you’re taking care of it and how often you’re using it. Combs generally only need to be replaced when they’re broken to avoid scratching your scalp.
How to clean hairbrushes to remove white lint

If you’re yet to clean your hairbrush or have left it a very long time between washes, you may notice small white clumps forming on the bristles. So, what the heck are they?
Effectively, these grey clumps are a buildup of dead skin cells, dust, oil and hair product that has clung to your bristles. They’re stubborn to remove and only come off when you thoroughly clean your brush. We suggest using the old toothbrush method alongside washing up liquid to really combat the clumps.
If you experience dandruff too, it’s even more likely your brush will be harbouring these annoying (and frankly disgusting) clumps. So, get scrubbing and use some elbow grease to avoid brushing this gross combination through your hair on a daily basis.
How to clean hairbrushes after having head lice
Head lice are not a pleasant experience to behold, they can survive for 24 hours off the human head, be lurking in bedsheets, clothing, and hairbrushes making them tricky to get rid of. But, after you’ve achieved a headlice-free scalp the last thing you want to do is brush your hair and reintroduce head lice.
But don’t despair, there’s a nifty trick to killing lice and their eggs to avoid them returning to you (or your child’s) scalp and spreading them further. Simply put your hairbrushes and combs into a bag then pop in the freezer overnight. The sub-zero temperature will kill off the creatures (and their eggs) so there’s no need to buy new tools. Just ensure that brushes and combs are dry before freezing to avoid unwanted damage from ice forming.


